

Canning Peach Jam: A Step-by-Step Guide
Preserving summer’s vibrant peaches into a jar of homemade peach jam is a delightful way to enjoy the season’s bounty all year long. Whether you’re a seasoned canner or just starting out in the world of homesteading, this simple recipe will guide you through making delicious peach jam that captures the essence of summer.
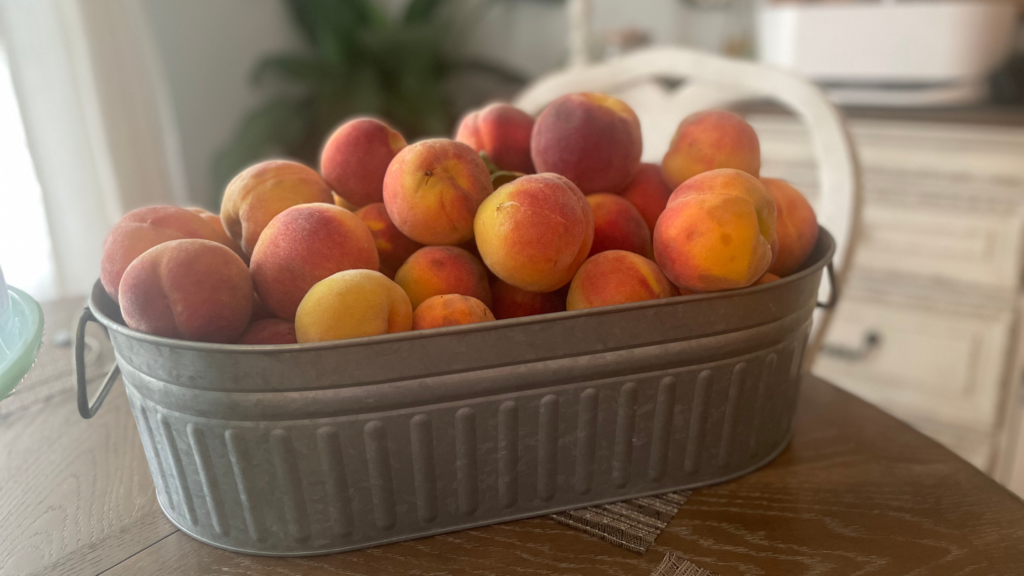
This summer, I was fortunate enough to have an abundance of peaches thanks to my generous neighbor. He has a peach tree that’s laden with fruit, but he didn’t want to pick the peaches himself. So, he offered all of them to us! With his gift, I set out to make some peach jam to savor the taste of summer throughout the year.
Ingredients:
1/2 pint Ball jars, and this recipe yielded about 5 jars of jam
4 cups of chopped peaches (about 4-5 medium peaches)
2 1/4 cup granulated sugar
2 tablespoons lemon juice
1 package Sure Jell Premium Fruit Pectin for Less or No Sugar
Instructions:
1. Prepare Your Jars and Lids:
- Start by sterilizing your canning jars and lids. Place them in a large pot of boiling water for 10 minutes to ensure they are clean and free of any bacteria, or place them in the dishwasher. This step is crucial in preserving and canning recipes to prevent spoilage.
2. Prepare the Peaches:
- Peel and chop your peaches into small pieces. Measure out 4 cups of chopped peaches and place them in a large saucepan.
3. Cook the Peach Mixture:
- Over medium heat, cook the peaches and 1/4 cup of sugar, stirring occasionally. Once the mixture begins to bubble, increase the heat to medium-high. Add 2 tablespoons of lemon juice to the mixture, which helps to balance the sweetness and preserve the color of the peaches.
- Bring the mixture to a rolling boil. This is a boil that cannot be stirred down and is crucial for setting the jam properly, ensuring the best results in preserving and canning recipes.
4. Add the Pectin:
- Once the peach mixture is at a rolling boil, stir in 1 package of Sure Jell Premium Fruit Pectin for Less or No Sugar. This pectin is specifically formulated for making jams with less sugar and will help the jam set perfectly.
- Continue to stir the mixture and bring it back to a rolling boil. Let it boil for 1 minute, stirring constantly.
5. Add the Remaining Sugar:
- After boiling with the pectin, add 2 cups of granulated sugar to the mixture. Stir well to ensure the sugar is completely dissolved. Bring the mixture back to a rolling boil and let it boil for an additional 1-2 minutes.
6. Test the Consistency:
- To check if the jam is set, place a spoonful of the mixture on a cold plate and let it sit for a minute. Run your finger through the jam—if it wrinkles and holds its shape, it’s ready. If not, continue boiling for another minute and test again.
7. Fill the Jars:
- Carefully ladle the hot jam into your prepared sterilized jars, leaving about 1/4 inch of headspace at the top. Wipe the rims of the jars with a clean, damp cloth to remove any residue. This ensures a good seal and is an important step in preserving and canning recipes.
8. Seal and Process:
- Place the sterilized lids on the jars and screw on the metal bands until they are fingertip-tight. Process the jars in a boiling water bath for 5-10 minutes to ensure they are sealed properly. The water should cover the jars by at least an inch, a key part of beginner homesteading.
9. Cool and Store:
- Remove the jars from the boiling water bath and place them on a clean towel or cooling rack. Let them cool completely. You’ll hear the satisfying “pop” of the lids sealing as they cool. This step is crucial for maintaining the quality of your homestead lifestyle preserves.
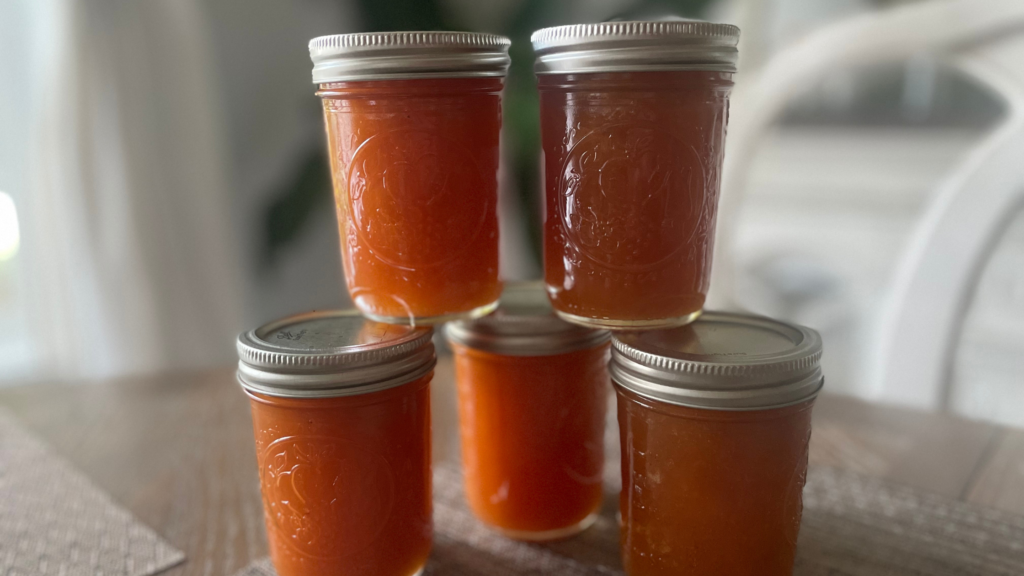
10. Label and Enjoy:
Once the jars are cool, label them with the date and store them in a cool, dark place. Your homemade peach jam is now ready to enjoy as part of your homemaking tips for a modern farmhouse lifestyle.

